Quantity
Food
Earned everywhere, richest in ground you already hold. Conquered areas stay yours. Go back and farm them whenever the mob gets thin.
EmuWars is a one-thumb swarm-conquest game built on the real 1932 Emu War, the one usually called the Great Emu War. Two Lewis guns, 10,000 rounds and a month in the Western Australian wheatbelt bought the Australian army almost nothing, and twenty thousand emus carried on eating. You play the emus. This time you keep going east.
Conquest runs are untimed. Take an hour over one if you want. The run ends when the last bird goes down.
01
One thumb, no buttons. Drag, and the whole swarm follows: up to fifty emus moving as a single gangly mass that clearly has somewhere to be.
02
Eat the wheat. Smash the fences. Every stray you pass picks up the idea and falls in behind you.
03
Park the mob in a gun post, a grain silo, a telegraph station, and stand there eating until the gold capture ring closes.
04
Beaten army kit drops scrap. Scrap buys the upgrade tree: peck, thrown sticks, rocks, and eventually the guns they came with.
Day 41: the emus have learned to throw things. This is considered a development.
Quantity
Earned everywhere, richest in ground you already hold. Conquered areas stay yours. Go back and farm them whenever the mob gets thin.
Quality
Whatever the army leaves behind when it stops working. Spent at the Bush HQ between wars.
Legend
One medal per war won. It unlocks the meta track, and the newsreels that keep calling you a menace.
Bolt-action rifles, spoked wheels, canvas and corrugated iron. The army is stuck with all of it forever, while six tiers of scrap carry a mob of birds from pecking a fence post to dragging around a Lewis gun they stripped off a dead truck.
Tier 1
At Large
Aggressive pecking. A stick, thrown, with a 100% comedic arc.
Tier 2
Strategic Withdrawal (Theirs)
Beaks that open radiators. Rocks that stun a gunner for two seconds. The Weave, which serpentines the swarm through gun cones.
Tier 3
The Emus Remain Undefeated
Bolas. Wedge formation, front birds tanking. Three seconds of sprint at real emu top speed, near enough to 50 km/h.
Tier 4
Escalation Concerns
Five emus peck a truck to death between them. A two-emu sling that lobs rocks over sandbags. One sergeant in a hat.
Tier 5
Armed and Flightless
A veteran emu drags a captured Lewis gun around on a cart. It jams after eight shots, the same as it did when the army owned it.
Tier 6
March on Canberra
Whatever is left of the Australian Army, pointed the other way.
Act 1
Hunger and discovery
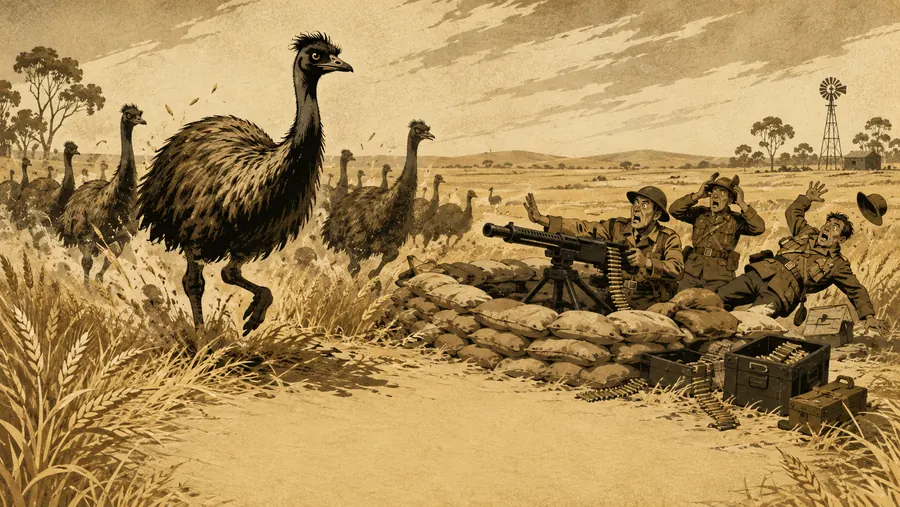
The emus are eating, which the humans decide to treat as an invasion. Farmers, scarecrows, and one borrowed Lewis gun that jams on schedule, which is what it did in life. The act closes the way the real war closed, with the army going home embarrassed and the mob working out, slowly, that it has won something.
Act 2
Momentum and myth-making
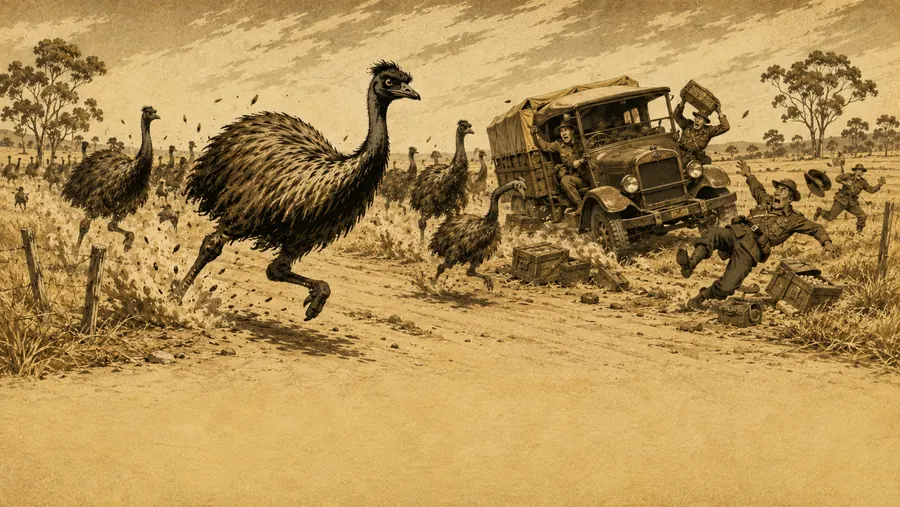
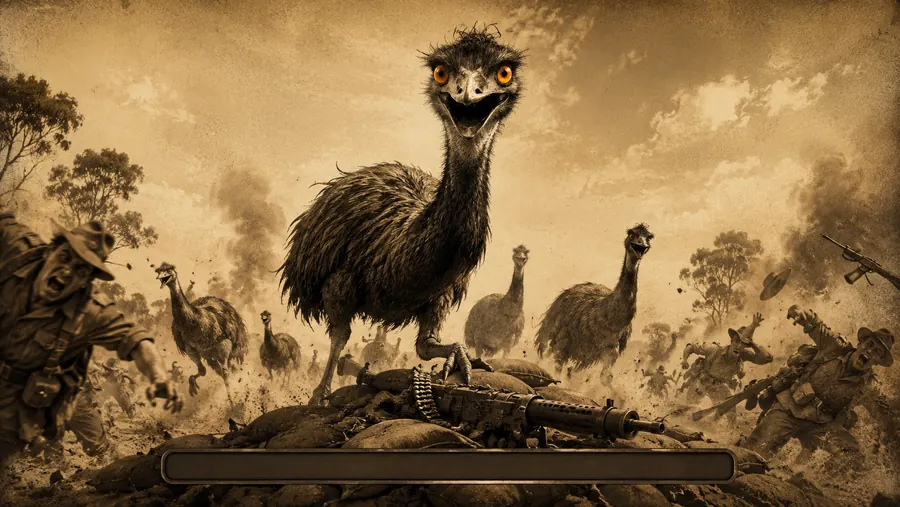
The newsreels find a phrase they like, "the emu menace", and recruits turn up on both sides. State militia now, trucks with guns bolted to the tray, a spotter biplane, and Meredith hauled out of disgrace and handed one more chance at the thing that ruined him.
Act 3
Endurance
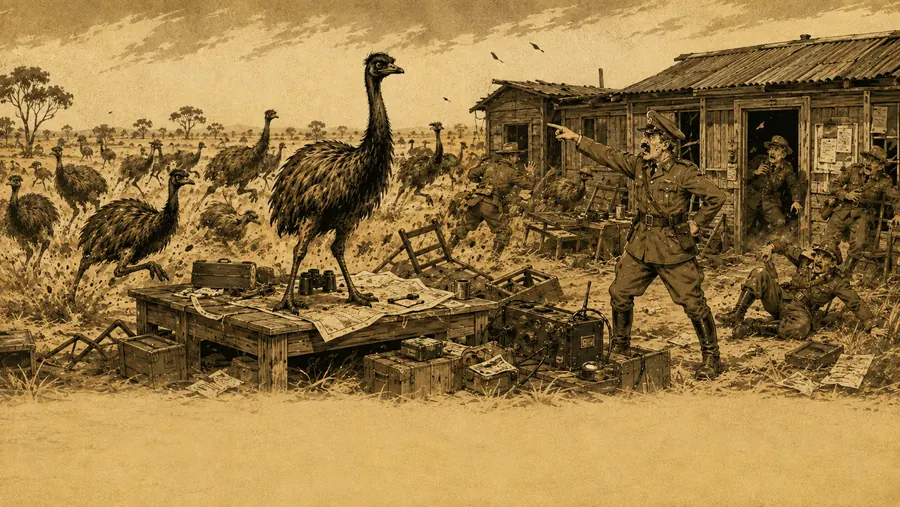
Nothing grows out here. Food runs down, so the ground you already hold has to feed you, and the army works that out too: blockades, garrisoned water holes, a slow squeeze in place of a fight. Somewhere in the heat Meredith starts to respect his enemy.
Act 4
Federal panic
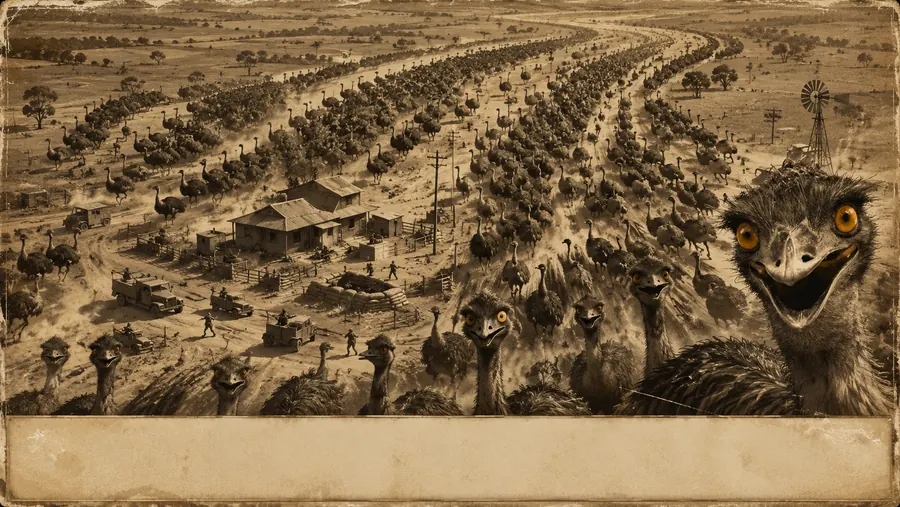
Artillery. Searchlights, armoured cars, biplanes coming in low over the wheat. The Minister promises Parliament total victory within the fortnight, then promises it again across four more areas, by which point the mob has worked its way up to thrown spears and rifles it did not buy.
Act 5
Desperate absurdity
Emu decoys. Ostrich double-agents, a giant net, and a ceremonial Wall of Wheat offered as a bribe. Meredith disobeys an order so he can fight one honourable rearguard, and after that there is only Canberra.
Twenty-six nodes, each one a war. Lines are the routes between them, and most junctions offer a choice of two. Open any of them to read what is waiting there.
Not out yet
The campaign map, the conquest loop and the economy are designed and building. Everything on this page is concept art. Inside the game most things are still grey boxes, which is the order this was meant to happen in. No store page, no date. Every area in the codex is written down, and the build is some way behind that.
Start at Campion, 2 November 1932 →